Changing the domain name server (DNS) is one of the easiest way. If the contents restriction is by DNS we simply only need to use another DNS, if not then this method cannot be use. Here will be introduced of DNS on public level in other words simple term. More information on https://0darkking0.blogspot.com/2020/03/simple-introduction-to-computer-network-and-the-internet.html, technical term will be upcoming.
To make things short we browse the web mainly using the domain address for example "www.facebook.com", but our machine itself prefer internet protocol (IP) address which is still version 4 of IP "173.252.74.22". When we write, the DNS translate it from "www.facebook.com" > "173.252.74.22".
Figure 1. Simple Animation of DNS
Here are steps of setting DNS in Windows (click the image to enlarge), or you can watch the video far below:
Go to start menu and choose control panel.
Figure 2. Opening Control Panel
Choose network and internet.
Figure 3. Opening network and internet
Go to network and sharing center.
Figure 4. Opening network and sharing center
Change adapter setting.
Figure 5. Change adapter setting
Right click and choose properties of the network interface you're using.
Figure 6. Properties on network interface
Choose internet protocol version 4 and input the DNS, here I input Google's public DNS.
Figure 7. Inputing DNS
If you want to change from command line, then type the following on cmd.exe:
netsh
interface ip show config
(find the connection for example:)
interface ip set dns "Ethernet0" static 8.8.8.8
Setting DNS Linux
Figure 15. find your network manager from widget.Figure 16. or find network manager from settings and press gear on desired profile.Figure 17. choose IPV4 or IPV6 and change the DNS.
If you want to do it from terminal, then be administrator using "sudo su", edit "/etc/resolve.conf" file using nano, vim, etc, and set for example "nameserver 8.8.8.8".
Building DNS Server Linux
Here I will only demonstrate locally using bind9. If you want to put on public domain, just change to public IP addresses.
   sudo su
   apt install bind9
Edit "/etc/bind/named.conf.options" if you want to add forwarders such as:
   forwarders {
       1.2.3.4;
       5.6.7.8;
        };
Create a zone in any conf file, in the video above, I added a zone in "/etc/bind/named.conf.local" since it's only for local network. For example:
   zone "example.com" {
     type master;
     file "/etc/bind/db.example.com";
   };
In above code, the zone name is "example.com" and the type is "master". The zone file is specified to "/etc/bind/db.example.com" but you can change the name and directory of the file as you wished but for now in "/etc/bind/db.example.com":
   ;
   ; BIND data file for example.com
   ;
   $TTL    604800
   @       IN      SOA     example.com. root.example.com. (
            2         ; Serial
          604800         ; Refresh
           86400         ; Retry
         2419200         ; Expire
          604800 )       ; Negative Cache TTL
     IN      A       192.168.1.10
   ;
   @       IN      NS      ns.example.com.
   @       IN      A       192.168.1.10
   @       IN      AAAA    ::1
   ns      IN      A       192.168.1.10
We defined "example.com" as "192.168.1.10", we also define a subdomain "ns.example.com" the same as "example.com". Note, there are example zone files such as "/etc/bind/db.local" if you need a skeleton, else go to bind9 official website for further technical details. Next is creating a reverse zone file to resolve names to IP Address. Edit "/etc/bind/named.conf.local" once again and add for example:
   zone "1.168.192.in-addr.arpa" {
     type master;
     file "/etc/bind/db.192";
   };
Replace "1.168.192" with the network you are using if you are using a different one. The reverse zone file in above video is "/etc/bind/db.192". If you need a skeleton, there is "/etc/bind/db.127". The contents below shows that "ns.example.com" is "192.168.1.10":
   ;
   ; BIND reverse data file for local 192.168.1.XXX net
   ;
   $TTL    604800
   @       IN      SOA     ns.example.com. root.example.com. (
            2         ; Serial
          604800         ; Refresh
           86400         ; Retry
         2419200         ; Expire
          604800 )       ; Negative Cache TTL
   ;
   @       IN      NS      ns.
   10      IN      PTR     ns.example.com.
Finally, "sudo systemctl restart bind9.service" to restart the DNS server.
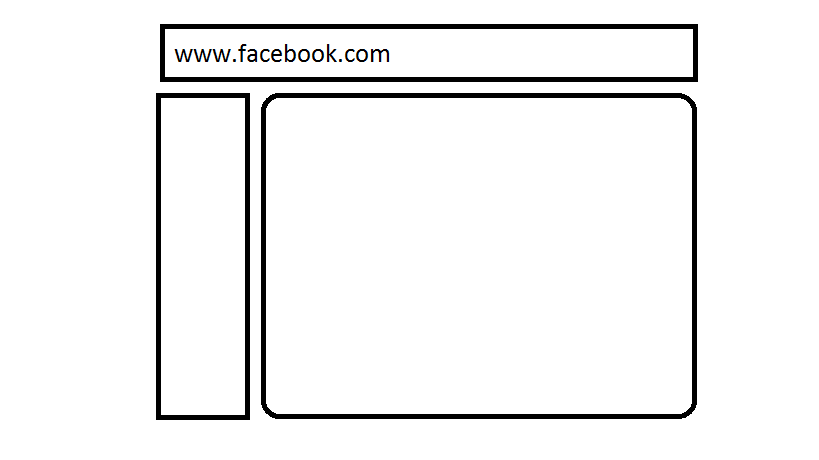


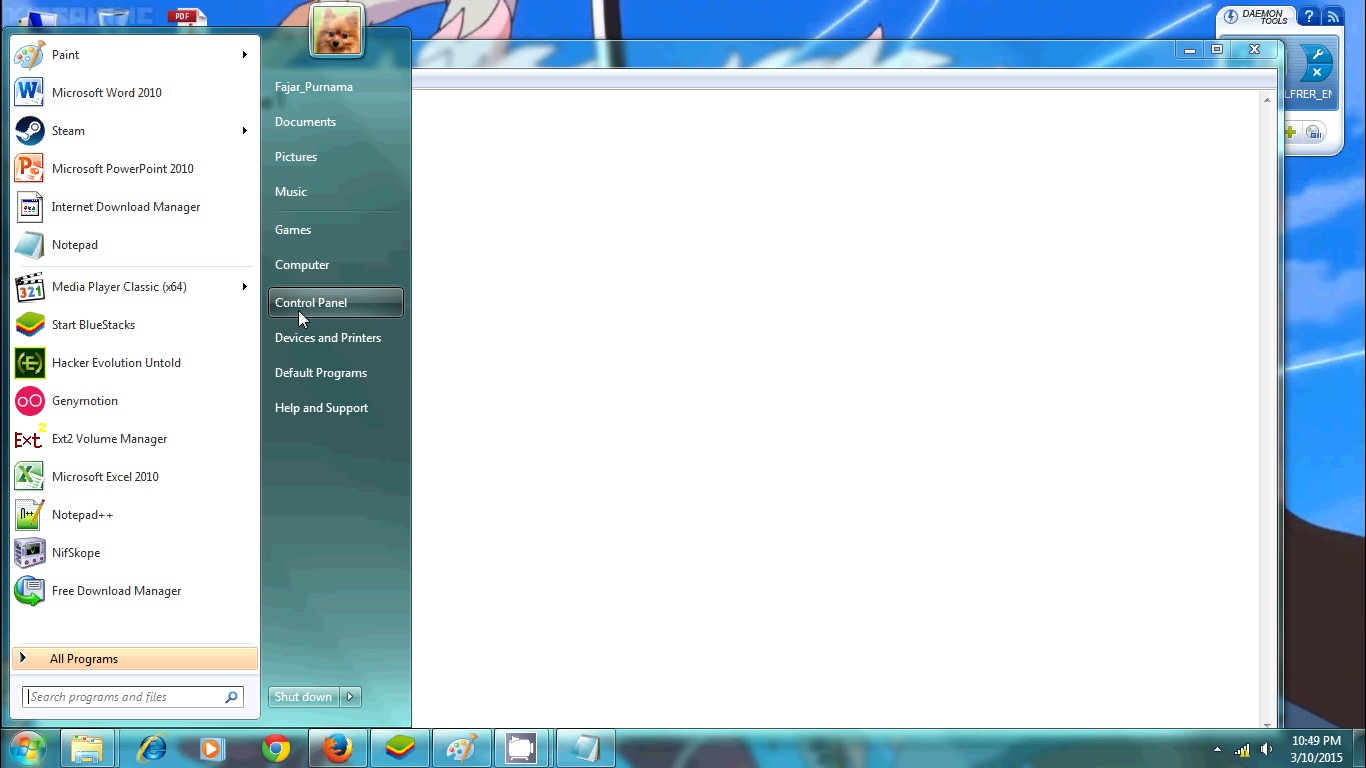 Figure 2. Opening Control Panel
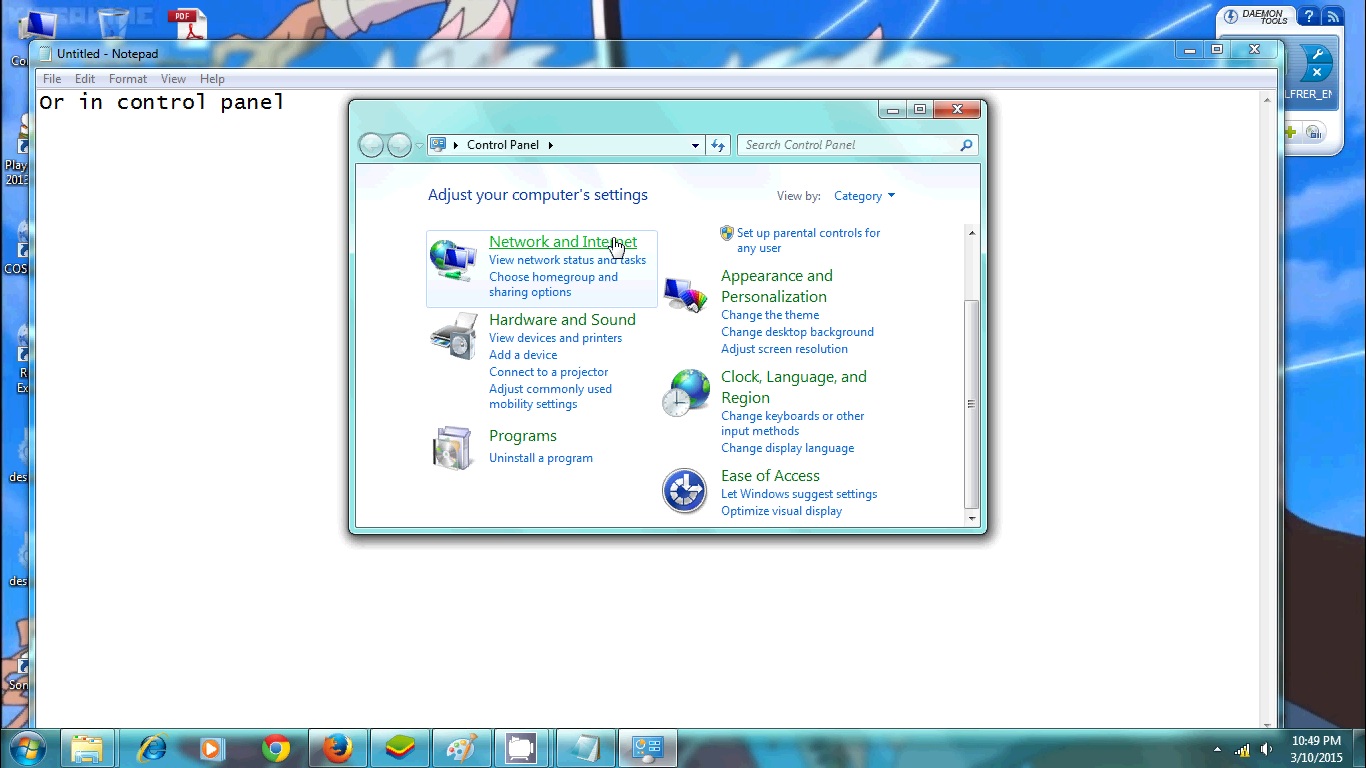 Figure 3. Opening network and internet
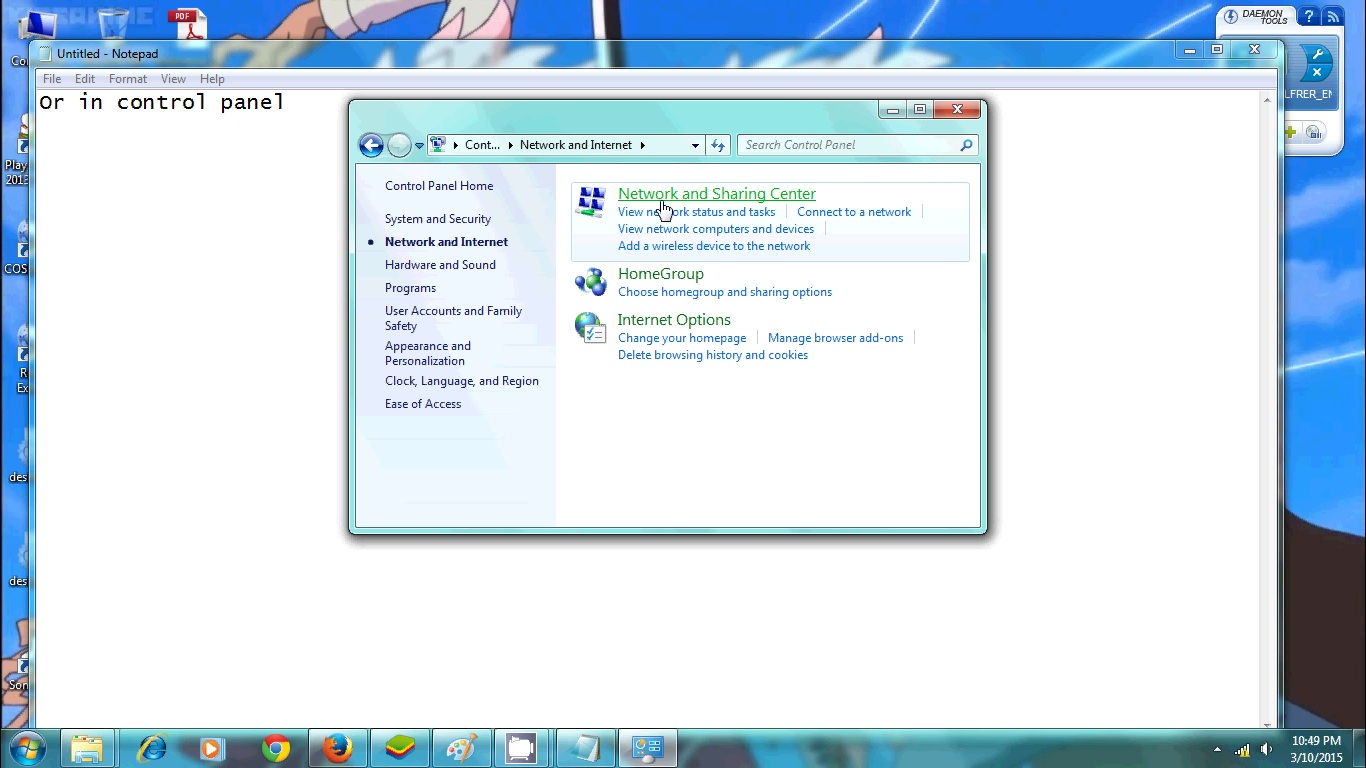 Figure 4. Opening network and sharing center
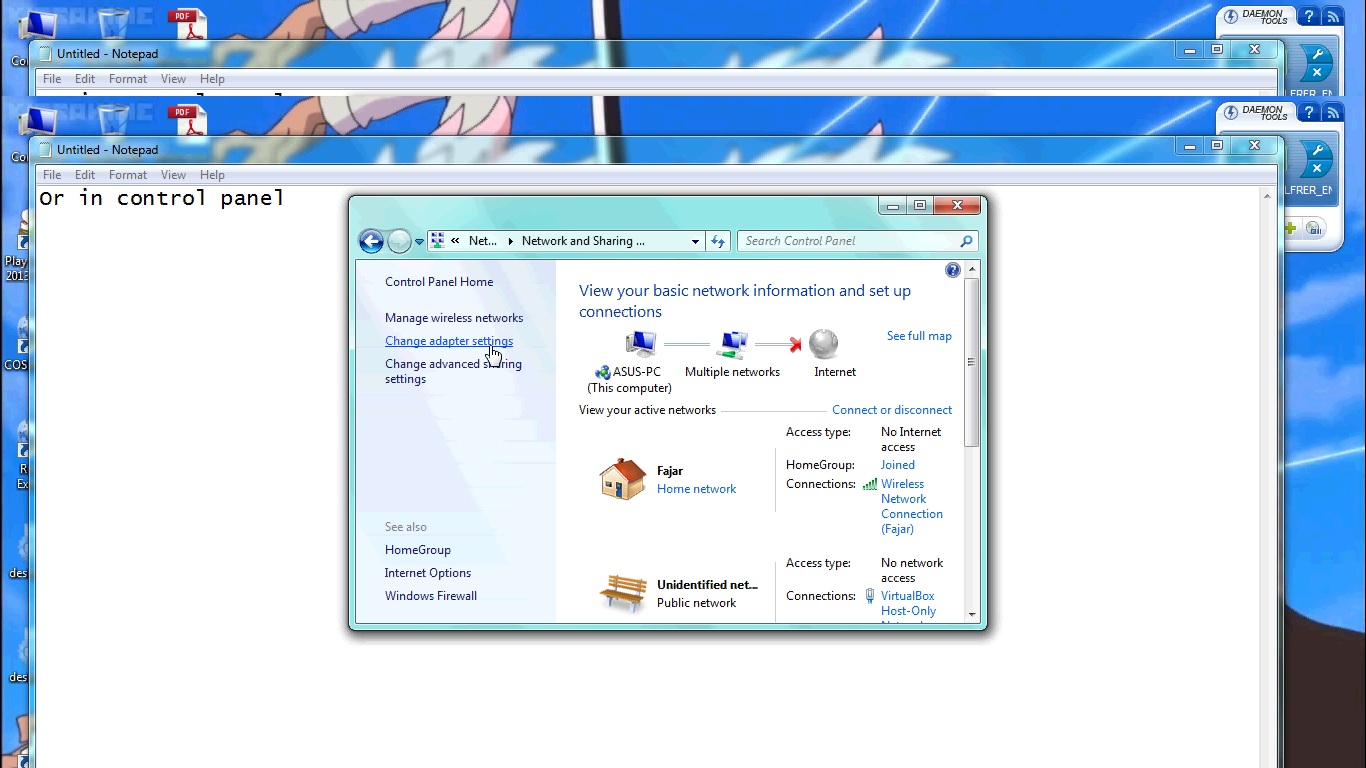 Figure 5. Change adapter setting
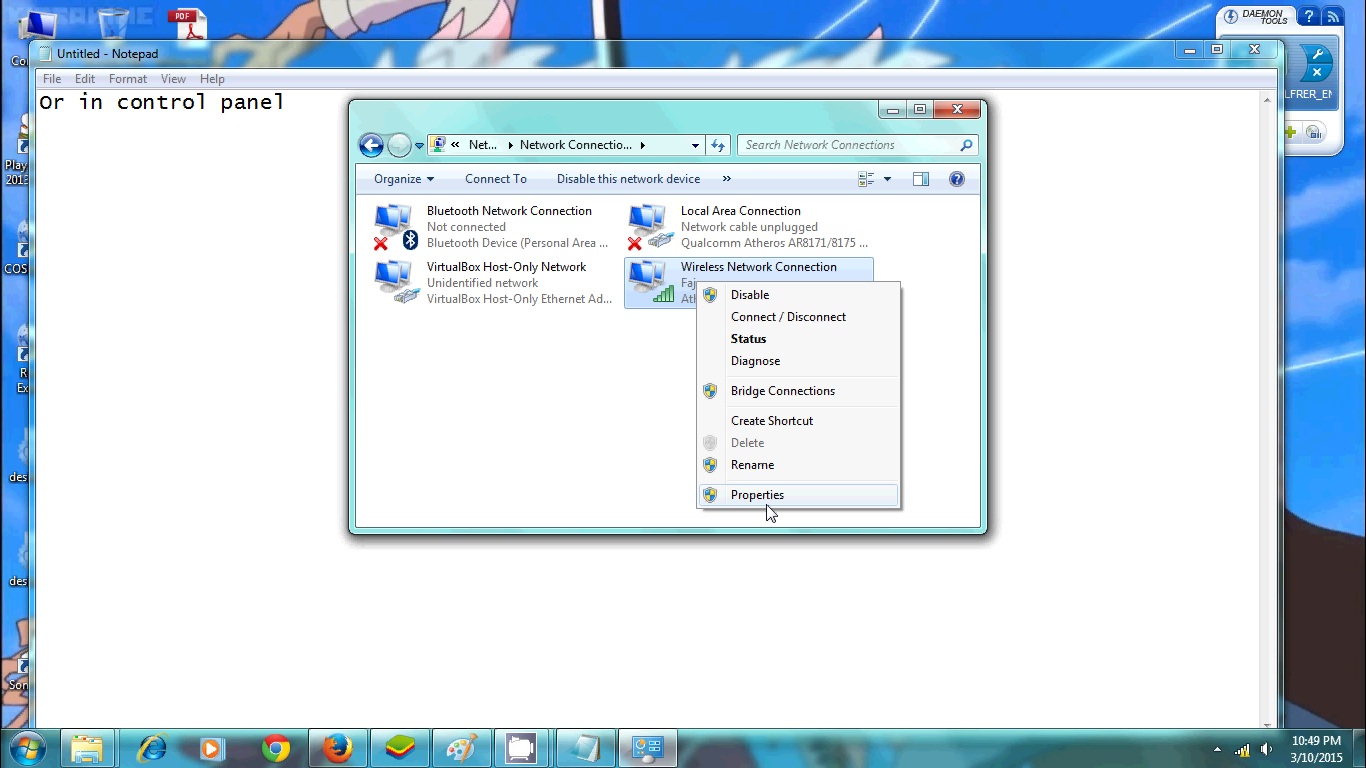 Figure 6. Properties on network interface
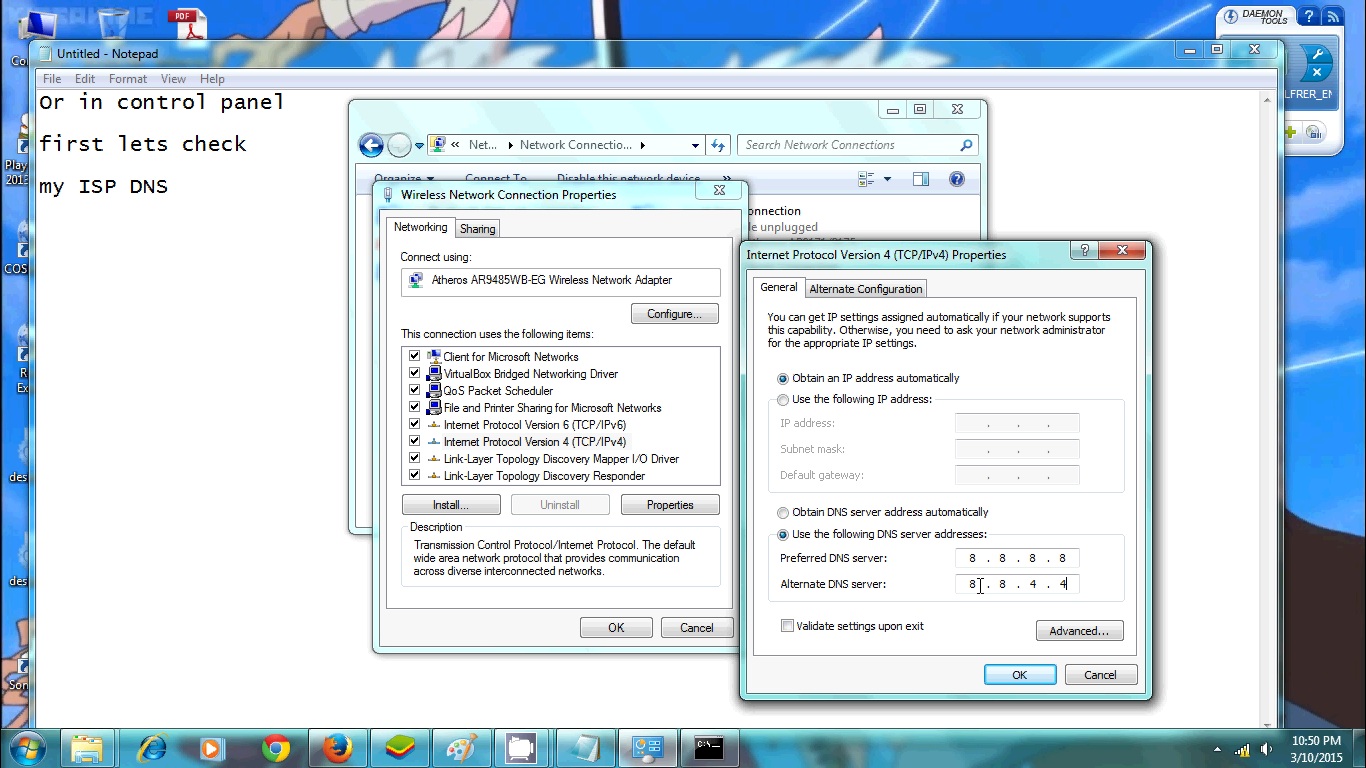 Figure 7. Inputing DNS
Comments
Post a Comment